The journey of a cutter head begins long before a single piece of steel is cut. It starts with an intensive design and engineering phase rooted in the specific requirements of the tunnel project.
Geological Assessment and Cutterhead Type Selection
The first step is a thorough geological and geotechnical investigation of the planned tunnel route. The ground conditions—whether they are soft soil, mixed face, fractured rock, or hard rock—dictate the fundamental type of cutter head required.
-
Earth Pressure Balance (EPB) Cutter Heads (for soft ground): Typically feature large openings (spoke-type) and a mix of cutting tools like scrapers, rippers, and bucket cutters to excavate and mix the soil with conditioning agents. They have a higher opening ratio (often 60% or more) to facilitate muck flow.
-
Slurry TBM Cutter Heads (for water-bearing ground): Similar in basic design but adapted to work under fluid pressure, managing the excavated material as a slurry.
-
Hard Rock TBM Cutter Heads: Predominantly use rolling disc cutters that crush the rock face under high thrust. They typically have a more solid plate-type structure with less opening ratio.
-
Mixed Ground Cutter Heads: A combination of features, often using both disc cutters and scraping tools, to handle transitions between soft and hard rock or boulder-laden faces.
The design team determines the optimal diameter, the rotational speed range, the overall structure (spoke, plate, or composite), and the critical opening ratio.
Finite Element Analysis (FEA) and Stress Modeling
Given the enormous stresses and torques the cutter head must withstand—often millions of Newton-meters of torque and several thousand tons of thrust—advanced Finite Element Analysis (FEA) is essential. Engineers model the structure to predict stress distribution, identify potential failure points, and ensure the structural integrity of the main beams (spokes) and face plates. This analysis informs the thickness of steel plates and the reinforcement patterns.
Cutter Tool Layout and Arrangement
A critical part of the design is the precise arrangement of the cutting tools (cutters). This layout must ensure full face coverage while maintaining balanced force distribution. The cutters are placed in concentric circles, with the spacing and stagger between adjacent cutters calculated to maximize rock-breaking or soil-scraping efficiency and minimize uneven wear on the cutter head bearings. The selection includes:
-
Disc Cutters: Used for hard rock, typically made of high-strength alloy steel with wear-resistant carbide rings.
-
Scrapers/Ripper Tools: Used for soft ground and soil mixing.
-
Gauge Cutters: Located on the outermost circumference to ensure the excavated diameter is maintained, and are often the most heavily reinforced due to the highest peripheral speed and wear.
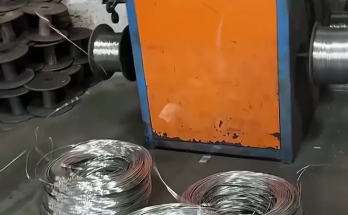
🔩 Material Procurement and Preparation
The materials used for a cutter head must possess exceptional strength, toughness, and wear resistance.
Steel Plate Selection
The main structure of the cutter head is fabricated from high-strength structural steel (e.g., steel grades equivalent to S355 or ST52-3, or even higher-strength, low-alloy steels). The steel plates are often delivered in large sheets and are carefully inspected for material quality, chemical composition, and mechanical properties.
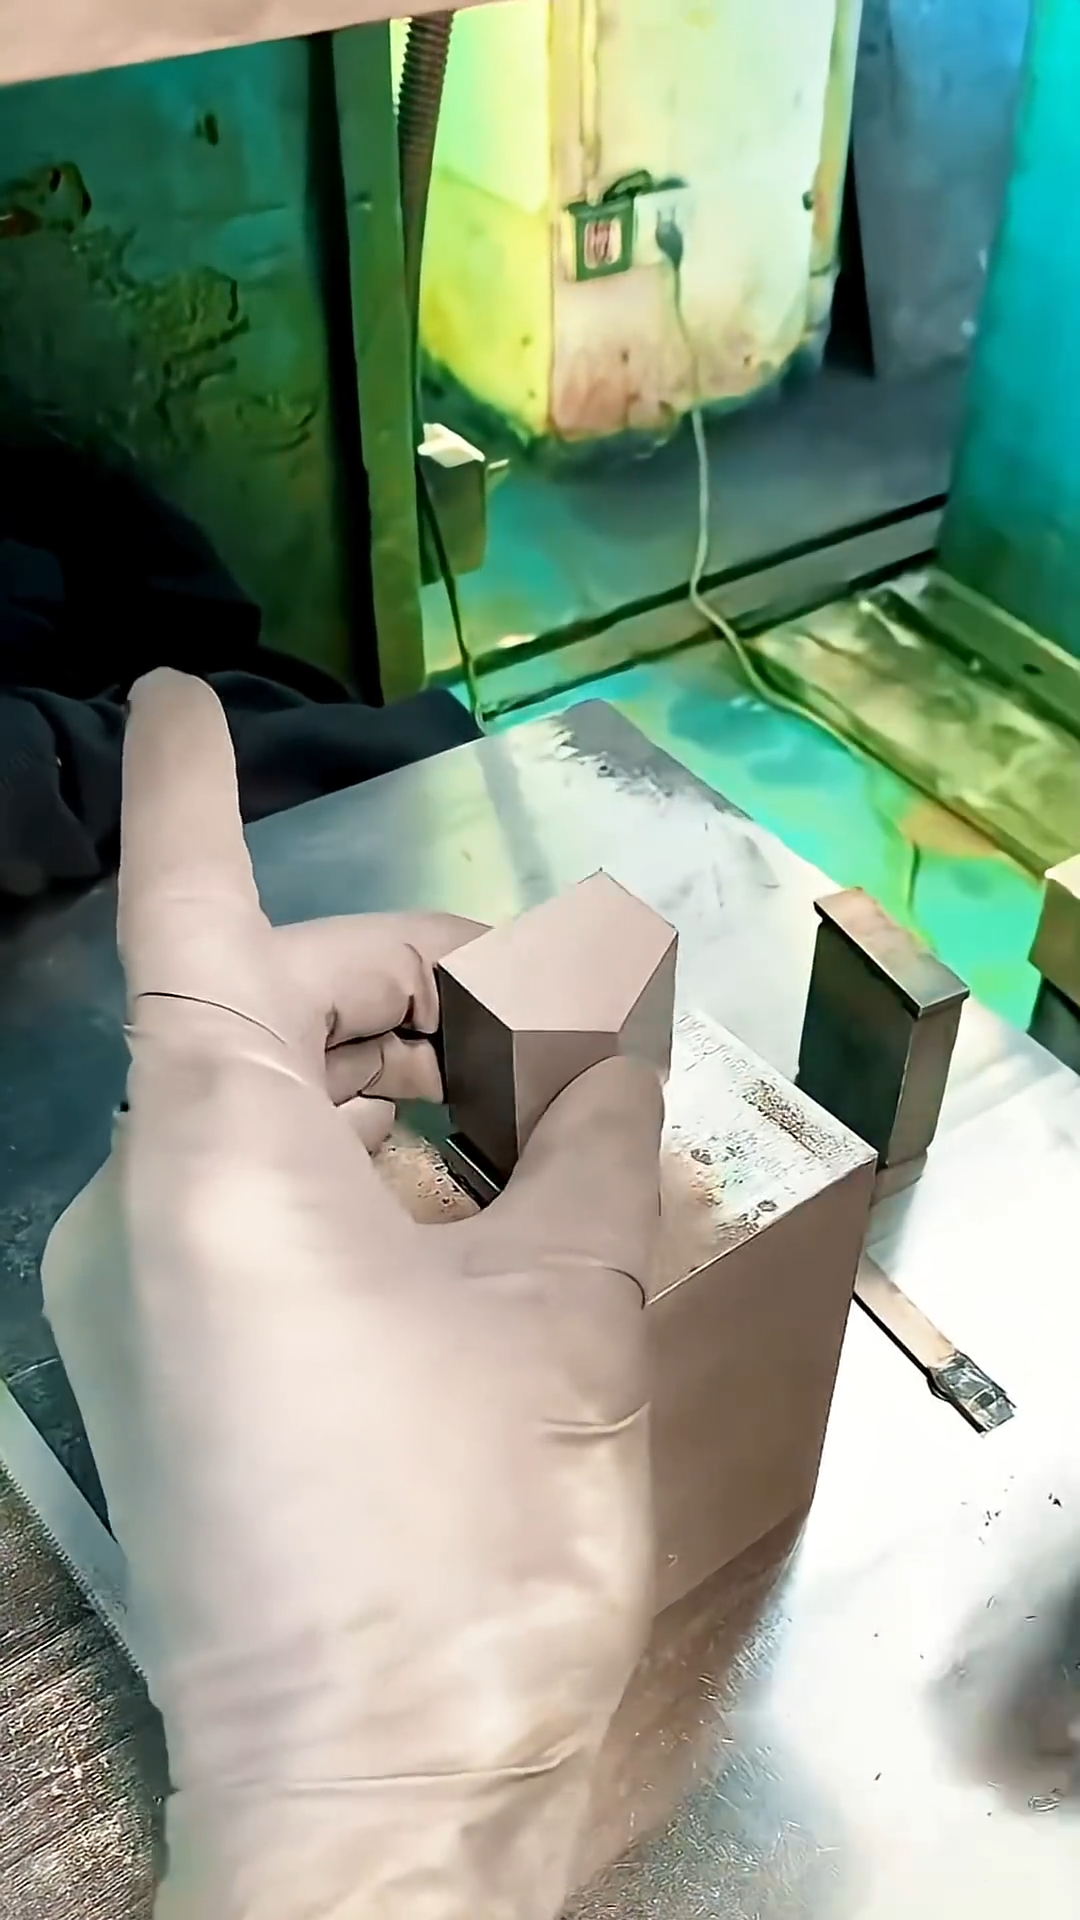
Component Machining
Before assembly, the raw steel plates undergo precise cutting and shaping.
-
CNC Plasma or Oxy-Fuel Cutting: Large, complex shapes for the main spokes, face plates, and shell segments are cut from the plate using Computer Numerical Control (CNC) thermal cutting machines to ensure high dimensional accuracy.
-
Edge Preparation: The edges of all components that will be welded must be meticulously prepared (e.g., beveled) to create a groove for optimal weld penetration and strength.
-
Bending and Forming: Hydraulic presses and rolling machines are used to bend the flat plates into the required curved geometries, particularly for the outer rim and the cutter head shell.
🔧 Fabrication and Assembly: The Core Process
This is the most time-consuming and labor-intensive phase, demanding the highest standards of heavy-duty welding and precision fit-up.
Jigs and Fixtures
The assembly process starts on a massive welding floor using specialized jigs and fixtures. These fixtures are essential for holding the numerous large components in their exact, three-dimensional positions during the initial tack welding and subsequent heavy welding stages, ensuring the final cutter head maintains its complex geometry and is concentric with the TBM axis.
Welding of the Main Structure
The core structure—the main spokes, the central hub that connects to the main bearing, and the inner face plates—is assembled first.
-
Heavy-Duty Welding: The joining of these thick steel sections requires multi-pass, high-deposition welding techniques (such as Submerged Arc Welding (SAW) or Flux-Cored Arc Welding (FCAW)). The weld quality is paramount, as the entire cutting and pushing force of the TBM is transmitted through these joints.
-
Non-Destructive Testing (NDT): After welding, critical welds undergo Non-Destructive Testing (NDT), including Ultrasonic Testing (UT), Magnetic Particle Testing (MPT), and sometimes X-ray inspection, to detect any internal cracks, porosity, or inclusions that could compromise the integrity of the structure under load.
Installation of Cutter Mounts and Pockets
Once the main structure is complete, the cutter mounts, buckets, and pockets—the interfaces where the disc cutters and other tools are installed—are welded onto the face. These components are usually made from even harder, specialized steel alloys or castings to resist wear. The precise orientation and alignment of each mount are checked repeatedly using high-precision surveying equipment.
Machining the Central Hub and Bearing Seat
The central hub, which mates with the massive main bearing of the TBM, requires extremely high-tolerance machining.
-
Post-Weld Machining: Due to the unavoidable distortion caused by the immense heat input from welding, the central hub is often machined after the bulk of the welding is complete. This ensures the flatness and concentricity of the bearing seat are within the tightest engineering specifications, crucial for the smooth rotation and longevity of the main bearing. This machining is often done on large-capacity vertical turning lathes or specialized boring mills.
🛡️ Wear Protection and Hardfacing
The life of a cutter head in abrasive conditions is defined by its wear protection. This stage is essential for extending the operational life and reducing downtime for tool replacement.
Application of Wear Plates and Hardfacing
Areas most susceptible to abrasion, such as the leading edges of the spokes, the face plates, and the gauge areas, are protected.
-
Wear Plates: Thick, high-chromium, carbide-rich wear plates or special castings are bolted or welded to the cutter head in high-wear zones. These plates are designed to be replaced in the field if necessary.
-
Hardfacing: A process called hardfacing (or built-up welding) is applied to coat the surface with highly wear-resistant material. Using specialized welding wires containing materials like chromium, manganese, and tungsten carbides, skilled welders meticulously apply a layer of extremely hard material—often in a patterned or “netted” matrix—to the exposed surfaces. This layer sacrifices itself to the abrasive soil, protecting the underlying structural steel.
✅ Final Inspection and Quality Control
The completed cutter head undergoes a rigorous final inspection before shipment.
-
Dimensional Check: A comprehensive check confirms that all critical dimensions, including the overall diameter, face profile, and cutter spacing, match the design specifications. Laser trackers or 3D scanning systems are used for this.
-
Run-out and Concentricity Test: The finished cutter head is often mounted on a test stand to verify that its rotation is true (minimal run-out) and concentric with the bearing seat.
-
Tool Installation Check: Every cutter pocket is checked for correct fit-up and mounting mechanism functionality.
-
Coating and Protection: Finally, the cutter head is painted or coated for corrosion protection during transport and initial staging.
🚢 Transportation and On-Site Assembly
Given their massive size—some can exceed 17 meters in diameter—cutter heads often cannot be transported as a single unit.
-
Segmental Design: For large diameters, the cutter head is often designed and manufactured in several segments (typically two to four pieces). These segments are precision-matched in the factory, disassembled, and then transported separately to the tunnel site.
-
Site Reassembly: At the job site, the segments are reassembled and welded together, often within a clean workshop area or directly in the tunnel launch pit. This final welding is critical and must adhere to the same quality standards as the factory fabrication.